When I initially started, I used only brushes and acrylic paints. It does not have to be expensive brushes but get a bunch of them from your local hobby or accessories shops.
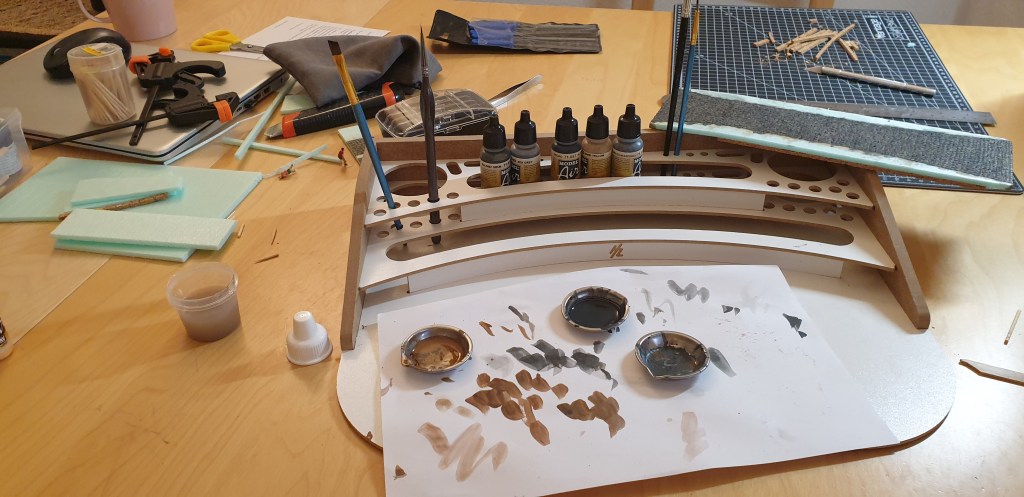
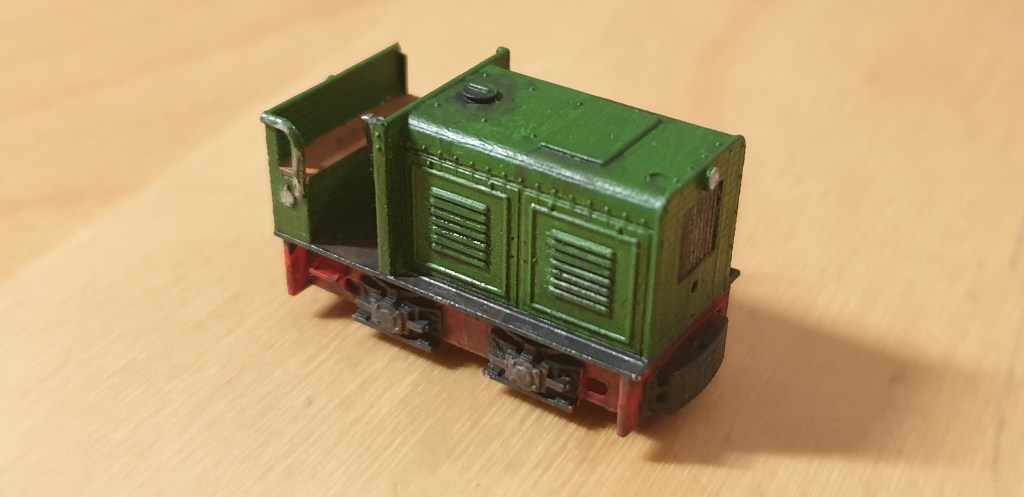
With brushes I produced amazing results and the fine details you can have. The concrete sleepers and the small diesel shunting loco were all hand-painted with brushes. As you upgrade your skills, DO NOT ignore your faithful brushes! You will still need them to produce finer details that airbrushes could not.

Airbrush Speeds Up the Painting
There comes a time when you need airbrush(es) to do work that brushes may not able to handle for example covering a larger space with a more even and smoother finishing. Airbrushing is basically using compressed air to atomise paint, primer or varnish particles and spray over a designed area – smaller area if held close to the object and wider area if held further away.
I have 3 double-action airbrushes: Harder & Steenbeck (H&S) 0.2mm needle with 2ml cup for fine details, Pelcas 0.3mm needle for general priming and Master G233 0.3mm needle (default) (changeable to 0.2mm and 0.5mm needles). The Master G233 airbrush is my standard workhorse now. These are cheaper airbrushes, which are suffice for beginners like me and suit my current skills and weathering purposes.

Get a small airbrush compressor with an air regulator to control the compressor pressure and with a tank. The motor turns on when the compressor pressure drops below your regulated level and off when the tank is sufficiently filled. It is relatively quiet.

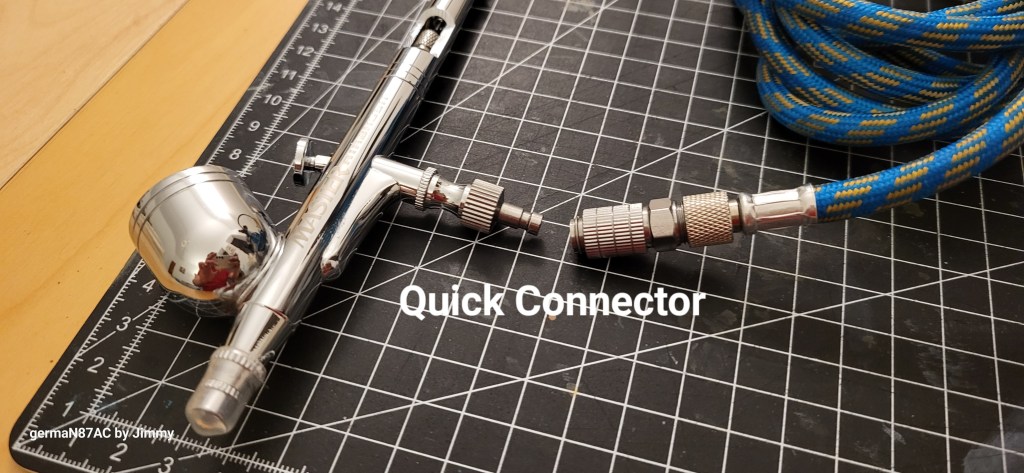
If you have more than 1 airbrush, then get some standard quick connectors and an adaptor. As you can see above, all my airbrushes are equipped with quick connectors so that I could switch between them easily (clean your airbrush thorougly before switching). There is a release valve on the adaptor to unlock the connector.

Portable Airbrush Compressor a Nice-to-Have

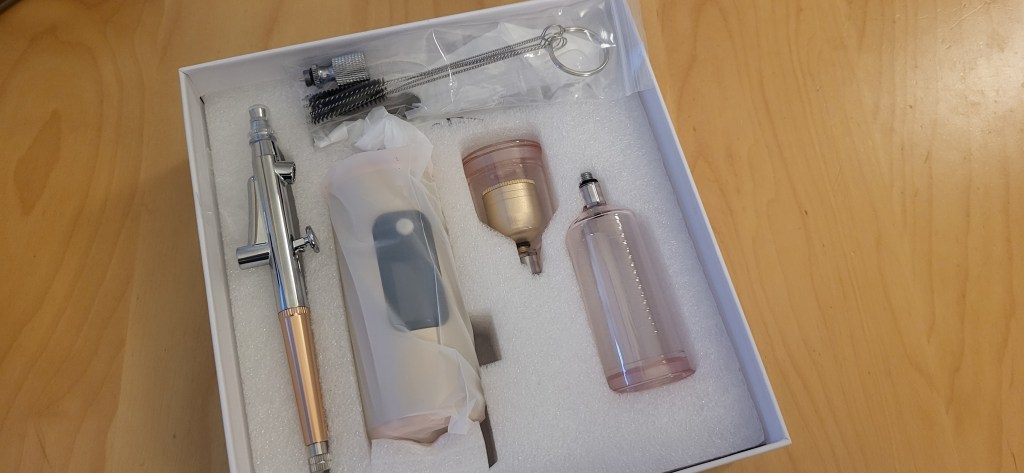
Reviews of portable airbrush have been appearing on social media lately and after looking at the reviews, I thought of getting a Pelcas set. It comes with an 0.3mm needle airbrush, USB Type C rechargeble battery compressor, 3 cups and cleaning brushes and a mini needle wrench. The USB-C charger is not included but I use the one for my smartphones.
The Pelcas portable compressor comes with 3 PSI levels: 22, 26 and 36 PSI and has a total working life of ca. 30 minutes. The battery indictor shows the battery life. You need to press the button to switch to the next level starting with 22 PSI. So for 36 PSI, you need to press 3 times! And 4th time will be off.
The compressor is always on and vibrating when in use. So it does get hot after awhile. Therefore, I never use it for extended period, usually between 10 and 30 seconds for a quick airbrushing.
Would I recommend it? If you are looking to do a quick airbrushing without taking out your small compressor, or like carrying it to a location without power supply or too burdensome to carry the small compressor around, then the portable compressor fits the bill. Do not expect consistent air pressure as thei air pressure depends on the battery life. You will notice the drop in pressure as the battery drains.
It is a nice-to-have.
Lately, I have switched back to my small air compressor especially on weekends when I spent a good 5-8 hours on my painting and weathering work.
Cleaning Your Airbrush
Tedious as it may sound, but it is an essential task when you use any tools – it is to keep them clean and in good working condition. Just like handbrushes, you want to take care of your airbrushes too. It is not difficult actually. Once you get the hang out of you, it will improve your airbrushing experience. Before you start cleaning, let’s learn about the various parts of an airbrush. Your airbrush manufacturer will have an instruction on how to clean their airbrushes. Do follow them.

Example of a double-action airbrush and the parts. Naming conventions may vary between manufacturers but the functions are the same.
There are two cleaning occassions for any airbrushes:
Between Paint Changes: Quick Cleaning
Whenever you change from primer to paint, between different paints and perhaps from paint to varnish or primer again (you never know if you want to prime another model during one session), this calls for a quick cleaning. I let Vince Venturella explains it. I have used his technique ever since.
After A Session or When You Notice …..: Thorough Cleaning
When you are all done for the day, or whenever you notice that despite a quick cleaning the paint/primer/varnish does not flow properly (it does happen) due to dry-up on the tip or between the needle bearing and head washer, then you want to perform a thorough cleaning. This involves taking most of the parts out and give them a good wash with airbrush cleaner or any other recommended medium. Again, Vince explains it best. Over to you, Vince.
Happy airbrushing!
