Yes, I have (almost) completed the cutout model of DRG standard steam locomotive Baureihe (Class) 01. The challenge was trying to build the firebox and superheating elements. I looked around for technical drawings of the Baureihe 01 and found them.
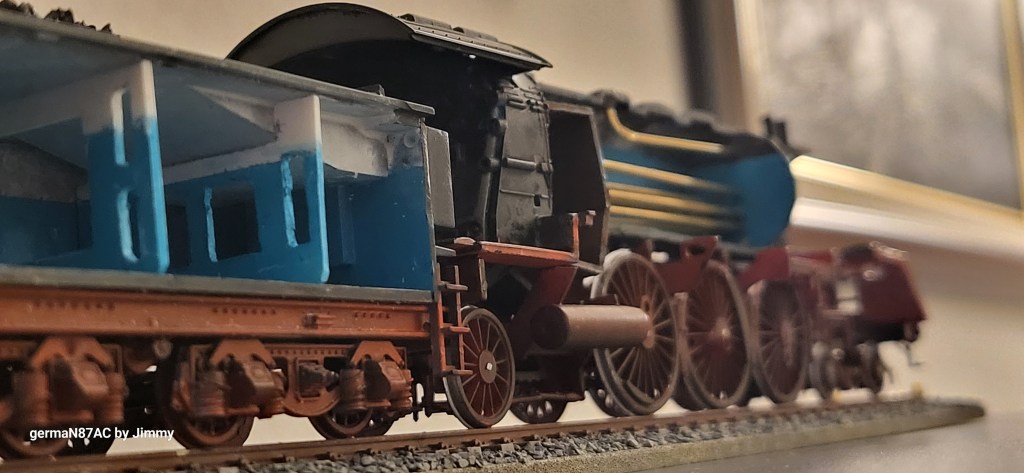
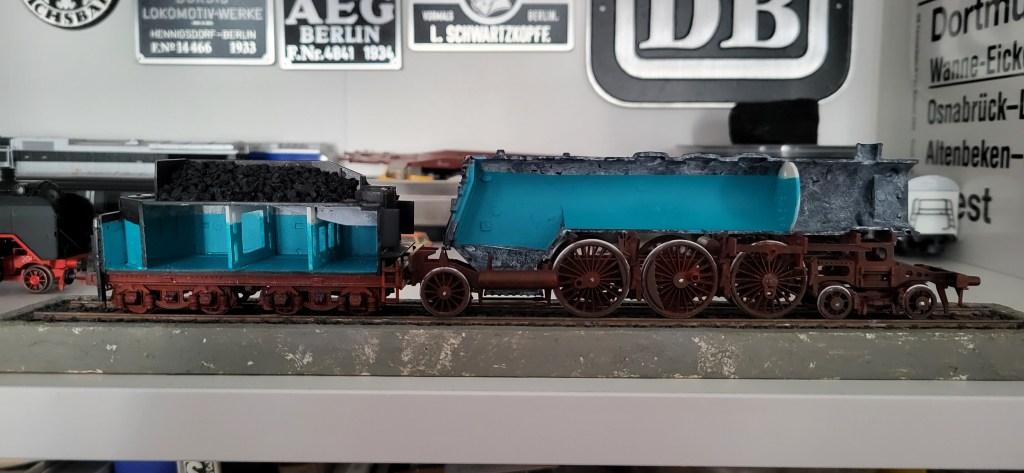
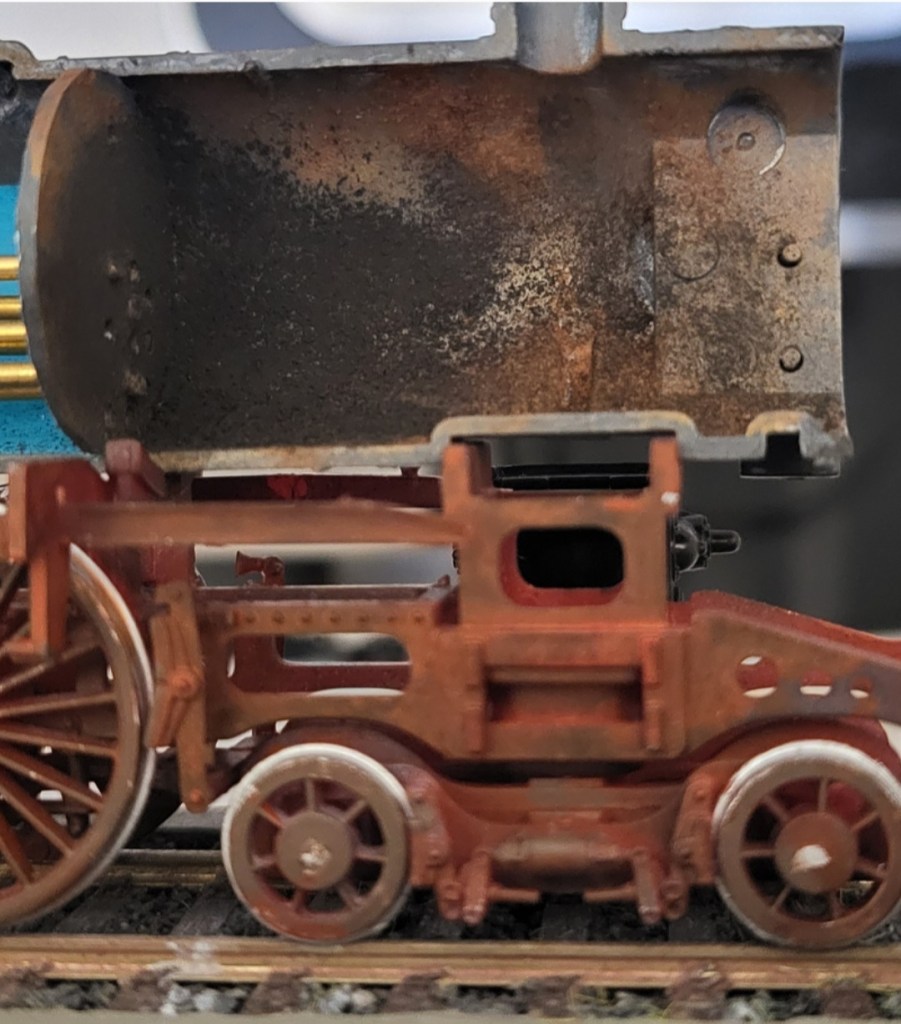
Final Look of Baureihe 01 Cutout Model


The left side of the locomotive is a completed section as you would normally view it. On the right side, it is completely cut out from the front of the locomotive up to the tender; thus, revealing all the possible internal parts of the steam locomotive and its tender. Not all the superheating elements are shown but having sufficient details to capture the internal components of the boiler. Blue is used to represent the water level in the boiler as well as in the tender.
A Deep Look into the Boiler and Firebox
I researched a few books and on the internet for DRG Class 01 technical drawings and found these. The drawing of a Baureihe 01.10 below came from the book about railway history in Germany. These Baureihe 0110 is a further development of the Baureihe 01; thus, further improvement from the first series. I want to model the first series but this drawing was a helpful guide.
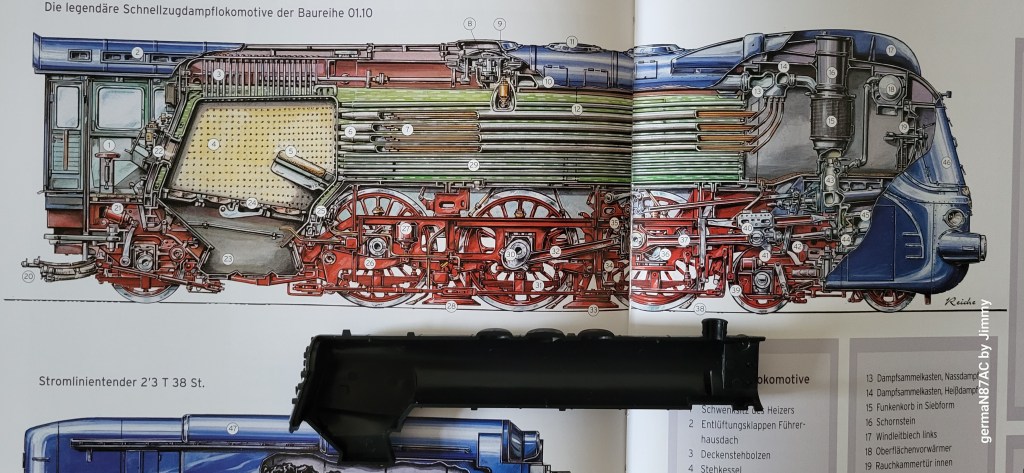
After a further search, I found the correct drawing and scaled it the 1:87. The half boiler kit from Revell fits exactly to the dimensions. I used 5mm styene to create the mockup of the firebox and after a few attempts, I managed to the firebox to fit into the space as you can see in the photo below.


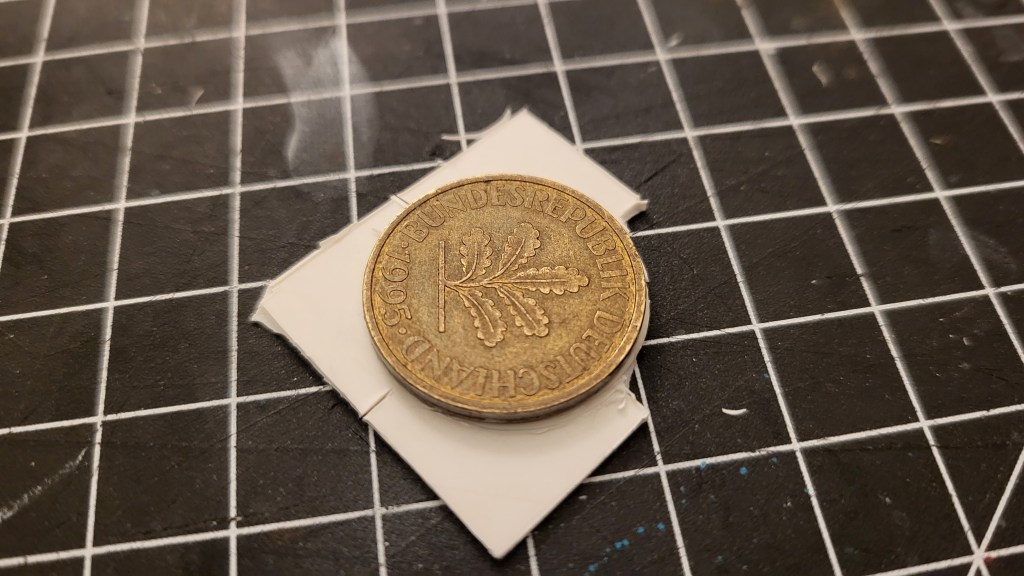
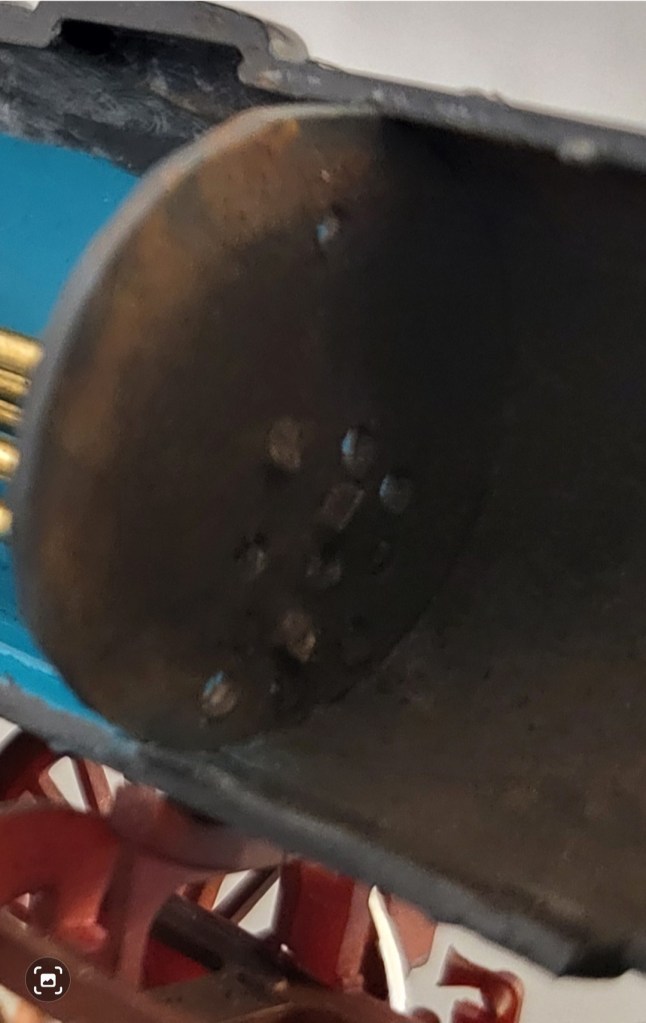
Old FRG Coin for End of the Boiler
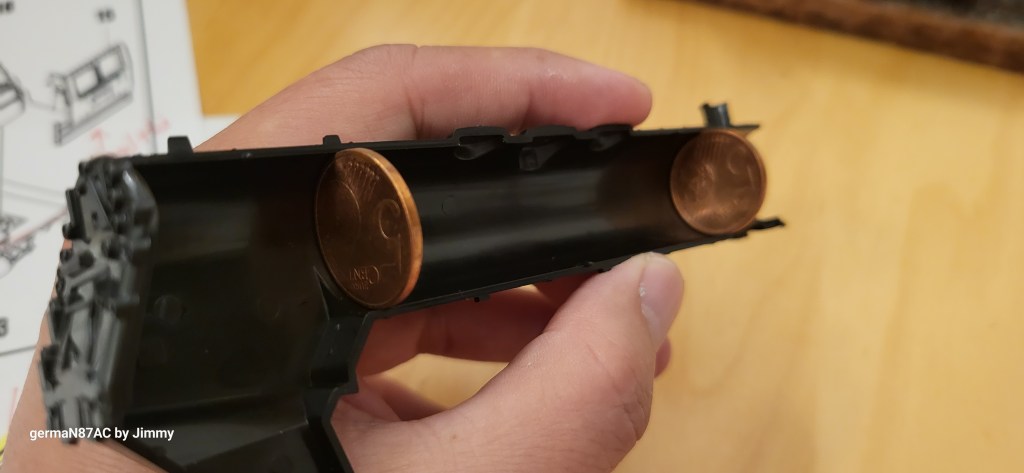
The inside diameter of the boiler is 20 scale milimeters and our 5 Euro cents coin fits the bill. Later I found an old Federal Republic of Germany (FRG) coin which fits even better. I used it to trace the circular space on a 5mm styrene and sticked the scaled boiler drawing on the styrene coin and punched some 1.5mm holes.

I connected the firebox and the end plate of the boiler together with 1.5mm brass rods. This is how the pre-weathered version of the boiler looks like.

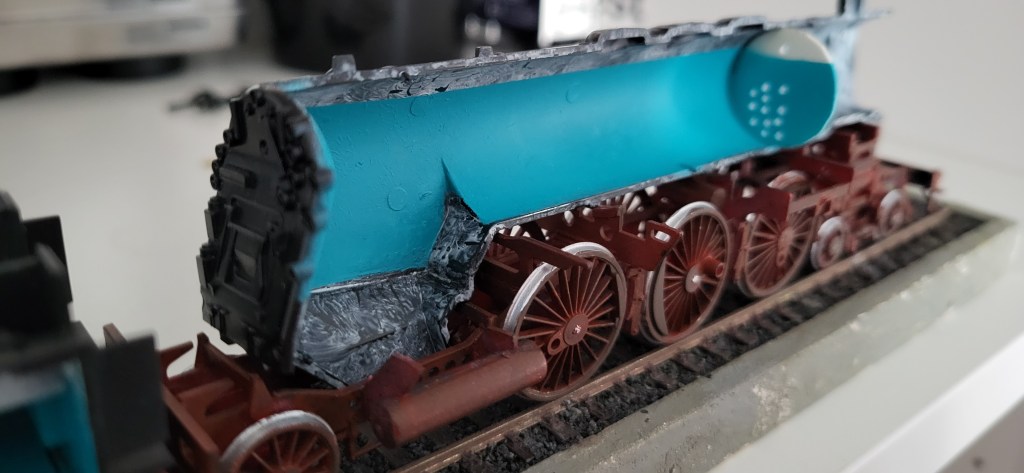
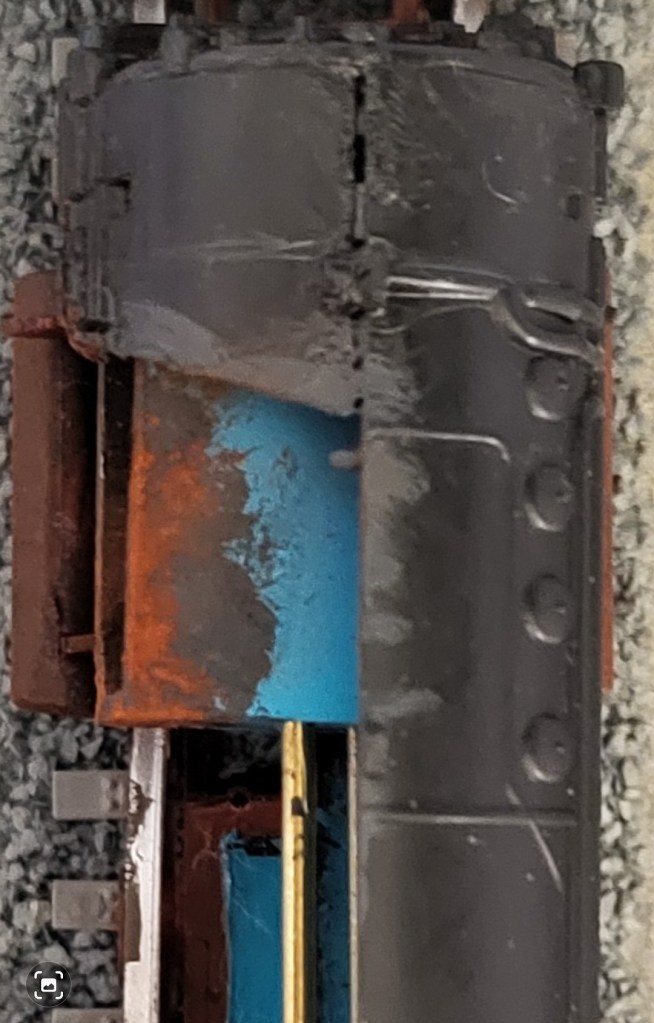
Weathering the Boiler and Doing the Final Touch-Ups
After priming the boiler, I added blue to mark the water level in the boiler and then attached the brass rods again. I left the top part white to show steam generated in the boiler.
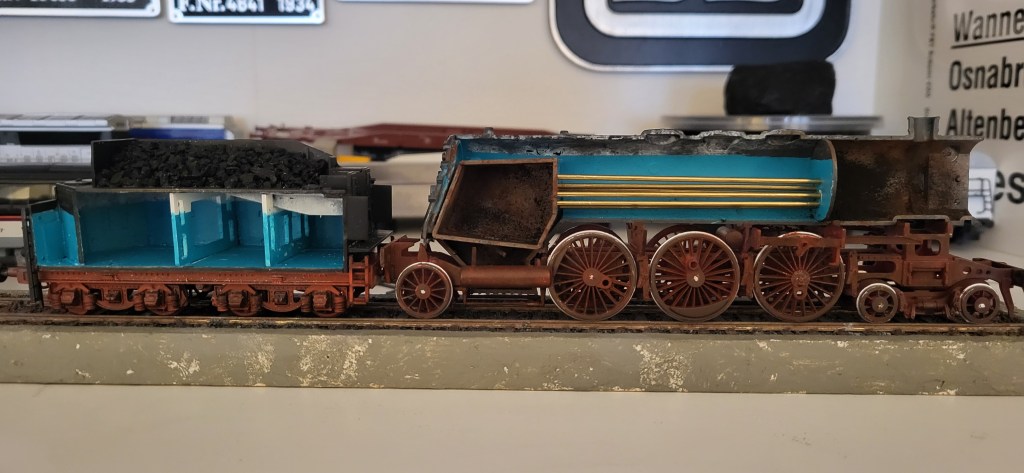
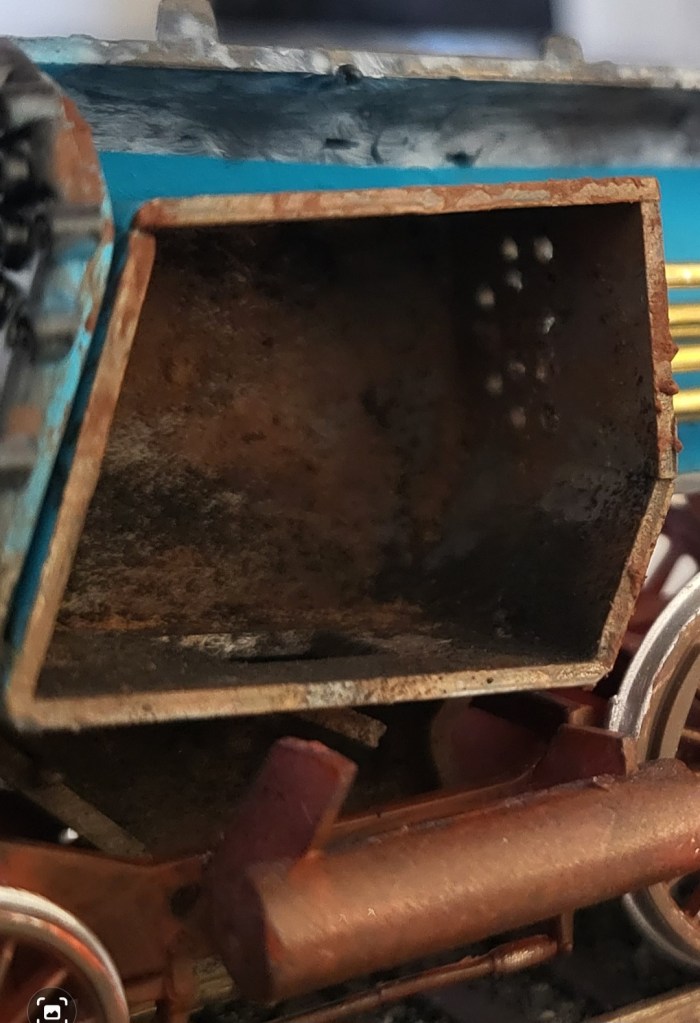
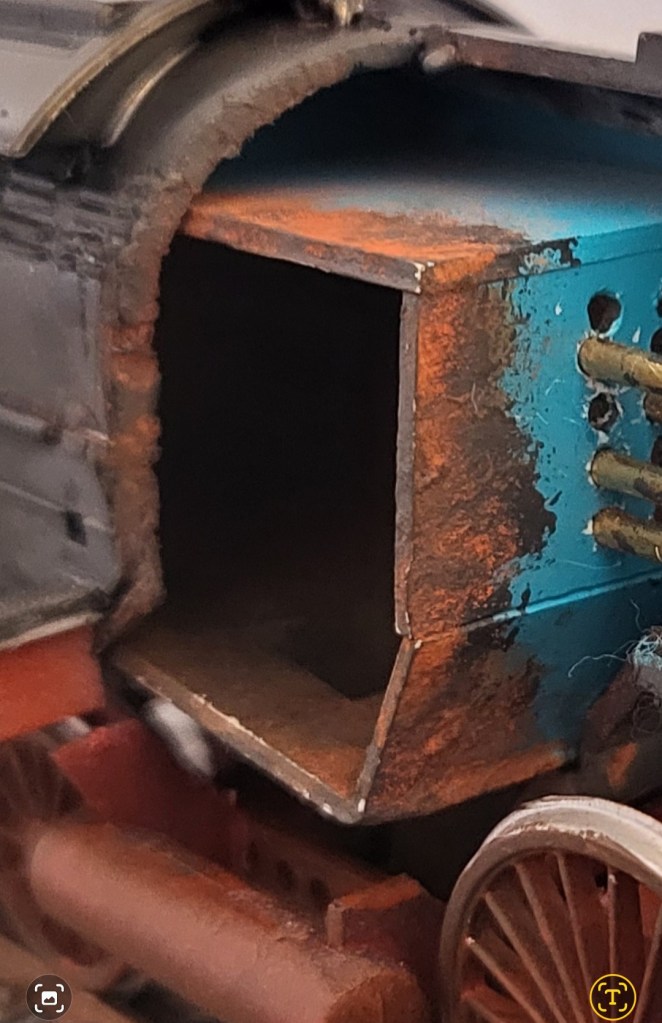
Rusting the Firebox and Front of the Boiler
This is my first attempt weathering rust effect in and around the firebox and front of the boiler. I used this technique using Vallejo Model/Model Air acrylic paints:
- After priming the firebox, the first layer was 50% Black Grey : 50% Neutral Grey and let it dry for about 1 hour.
- Using a small piece of sponge, I applied randomly Mahogany Brown, Rust and Orange Brown
- Then overlaid with random spots of Black Grey, again using sponge.
- Lastly, while the paint is still wet, I used dry brush to apply Burnt Umber, Carbon Black, Burnt Sienna und Natural Umber pigments.
First Impressions of DRG Baureihe 01