
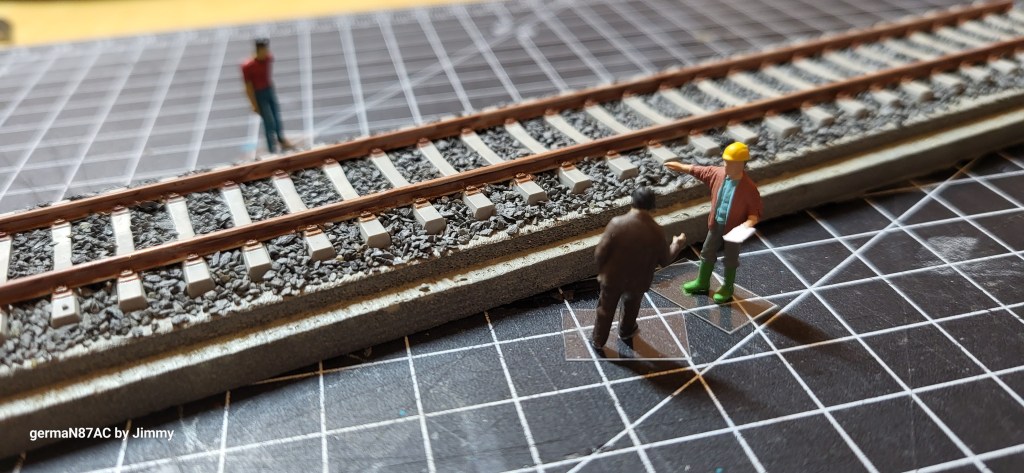
Since the reopening of Loewenherz railway park, the park has been receiving a constant stream of visitors and railway fans from near and far. Beside enjoying the idyllic surroundings, the array of railway exhibits that pocket around the park becomes one of the main draw.
The park management received many complaints – mainly regarding neckaches as a result of high position of the railway exhibits on all the exhibition plinths. After careful consideration, the management approved the rebuilding of the affected plinths with the financial support coming from the city of Bad Niedrigsrode.
Rebuilding the Plinths
Two of the affected plinths are located next to the park railway station, which is the main stop for many visitors. The engineering and construction company Firma Bauingenieur Baumann GmbH was tasked to reconstruct the plinths. The entire foundations were dugged up and resurfaced. The new tracks are almost 1 meter lower than the previous tracks; thus, lesser strains on the neck.

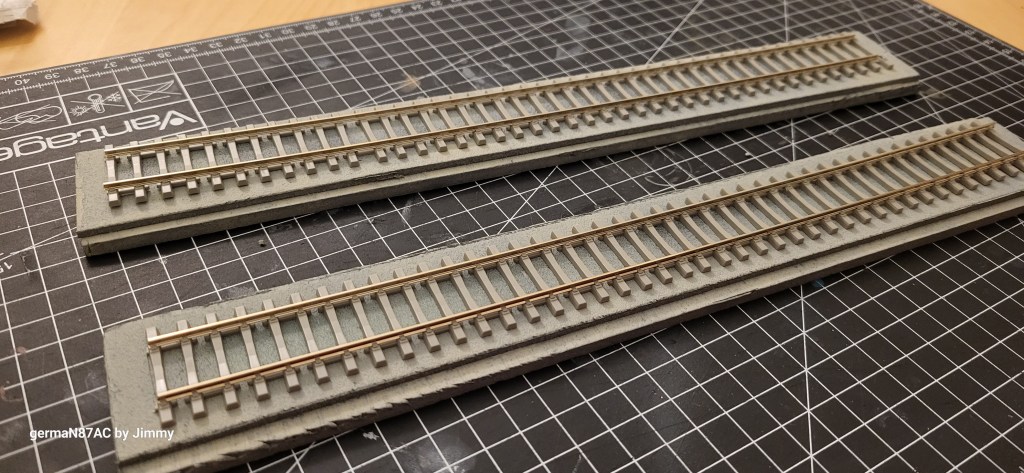
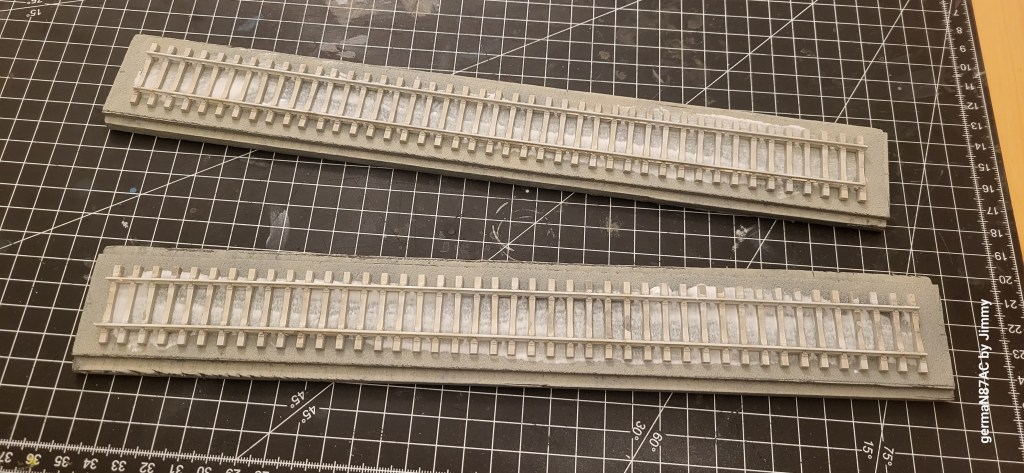
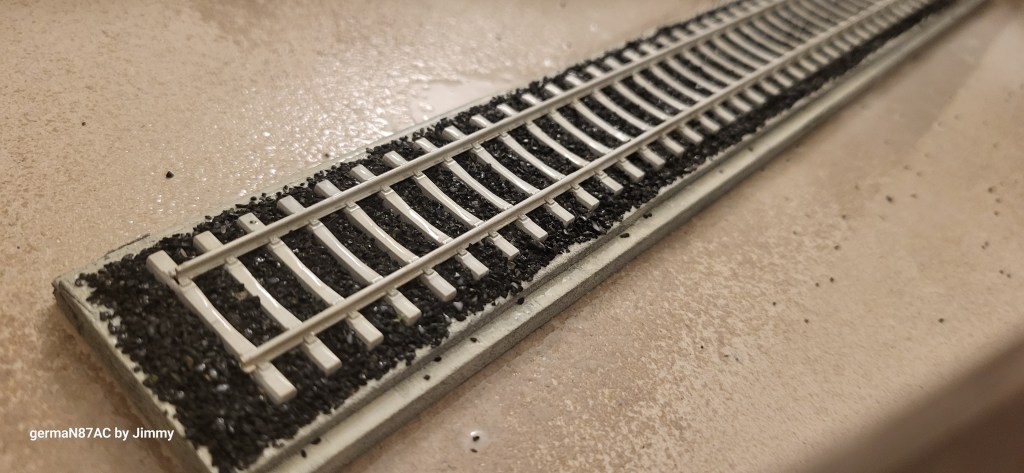
Priming and Laying the Tracks in Place
The tracks were primed with Vallejo Surface Primer white and let dry for 12 hours before the sleepers were airbrushed with a mixture of 8 parts Vallejo Model Air Deck Tan and 2 parts Concrete. After drying overnight, the tracks were glued to the base.

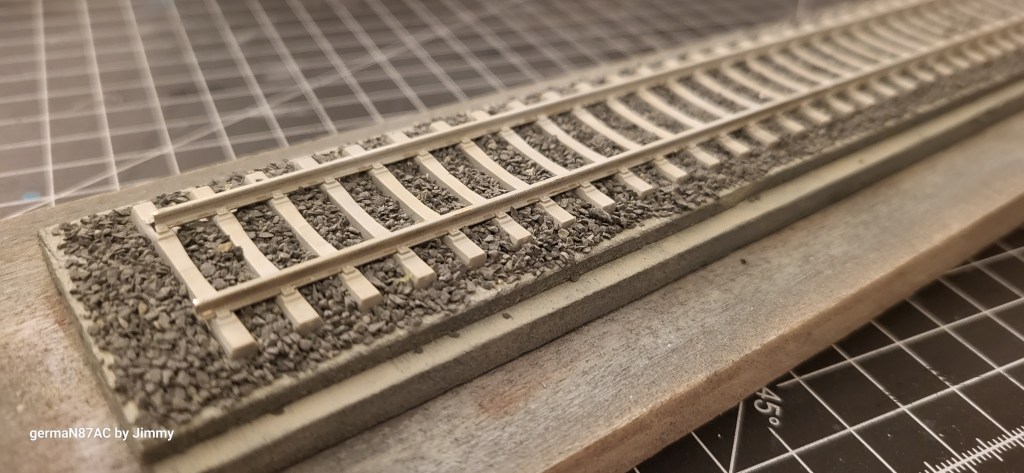
Ballasting with Care
I carefully ballasted the track and ensuring the ballast does not fall on the foundation.

Spraying the Glue on Ballast
Using a dropper or brush is the common method of applying glue to the ballast. My experience showed that this method causes the ballast to shift especially if you overapplied the glue. Therefore, it required careful control of the glue drops. I solved this problem by using spray bottle. My glue mixture consists of 3 parts glue, 6 parts water and 1 part isopropyl alcohol 99%. The alcohol breaks the water tension when applied in the ballast.
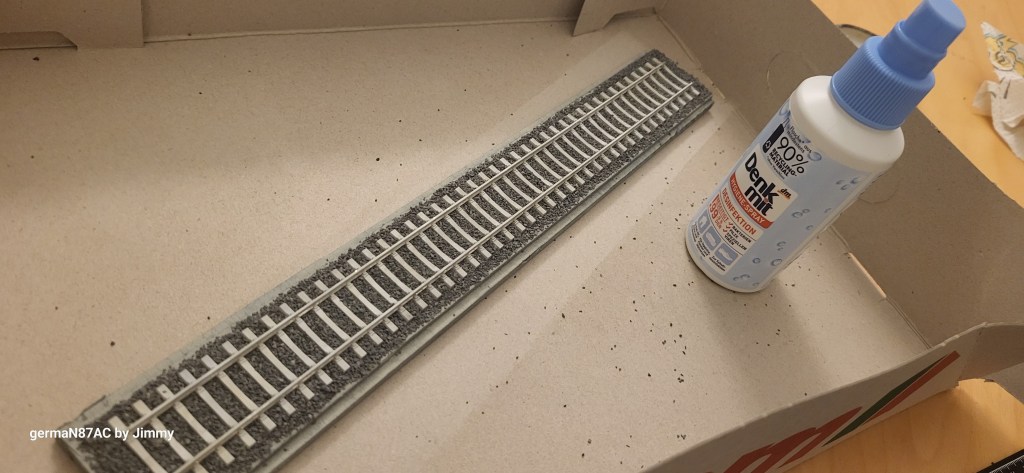

I sprayed from a distance – probably about 10cm. The mist will gently wet the ballast as indicated by the ballast turning from grey to black (apparently the ballast from this manufacturer has this problem). After spraying the first layer, i applied the second layer and then applied the next layer until the ballast is impregnated with the glue solution.
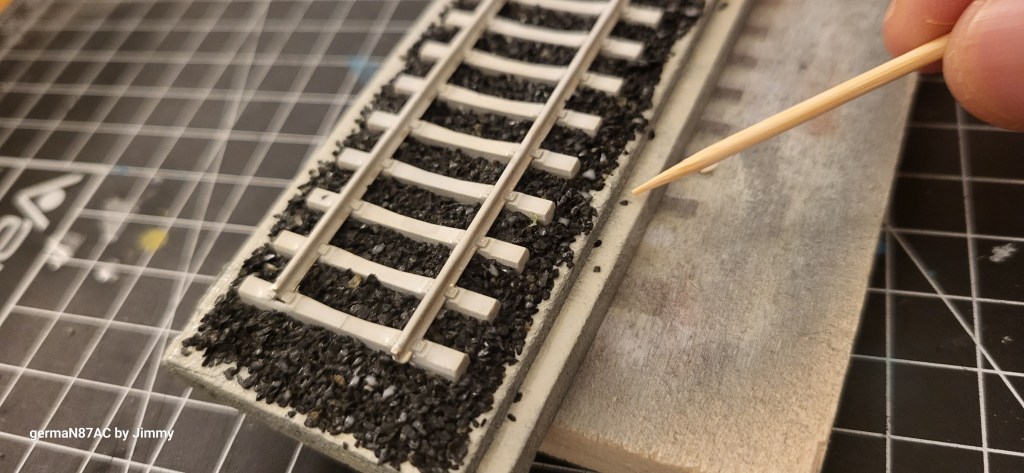
As I do not want any ballast on the foundation, I used a toothpick to remove the excess. You will notice only a few ballast pieces are “disturbed” by the spraying method. I left them to dry for 12 hours.
Once fully dried, I checked again for excess ballast that I do not on the sleepers, rail webs or on the foundation.

Preparing to Rust the Rails and Paint the Ballast
Using masking tape, I cover the ballast and sleepers; thus, exposing on the rail webs and heads. I used 8 parts Vallejo Model Air Mahogany Brown and 2 parts Hull Red.
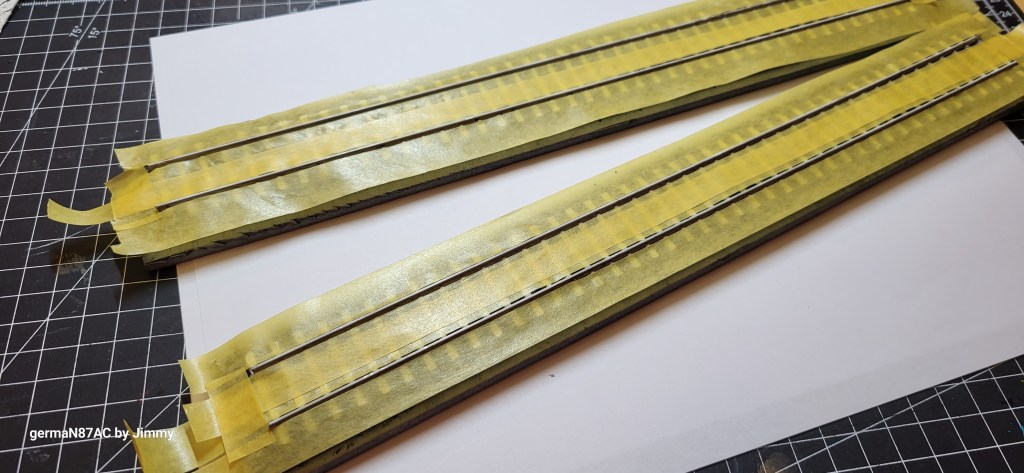
The foundation of the plinth was masked before I airbrushed the ballast. As mentioned earlier, the glue solution causes my ballast to darken and stay black. To “return” the ballast back to grey, I airbrushed the ballast area with 8 parts Vallejo Model Rail Deck Tan, 1 part Neutral Grey and yes, 1 part Aluminium. The airbrush compressor pressure dropped to 12psi and the spray cap removed. The airbrush distance was about 1cm.
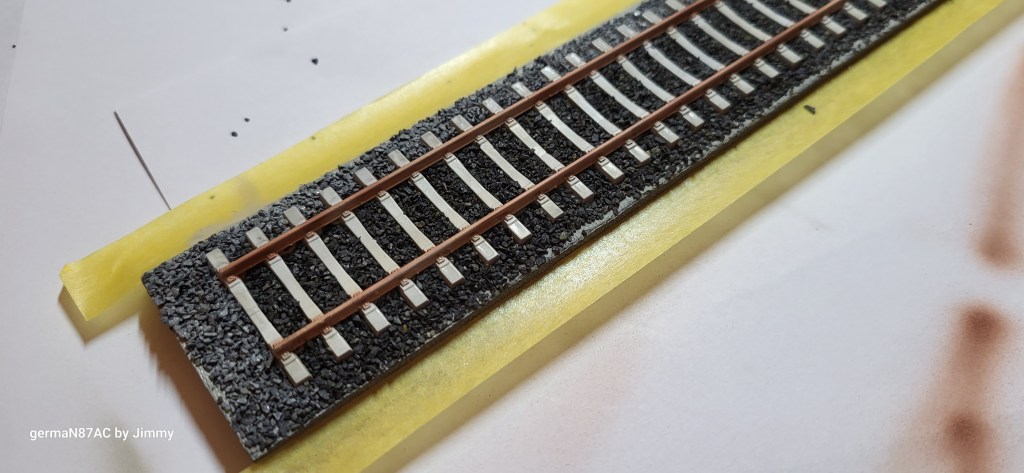

On close-up, you can see the shining grey ballast again.
Rusting the Rail Plates
Using the same Mahogany Brown/Hull Red, I applied paint with brush on the rail plates.


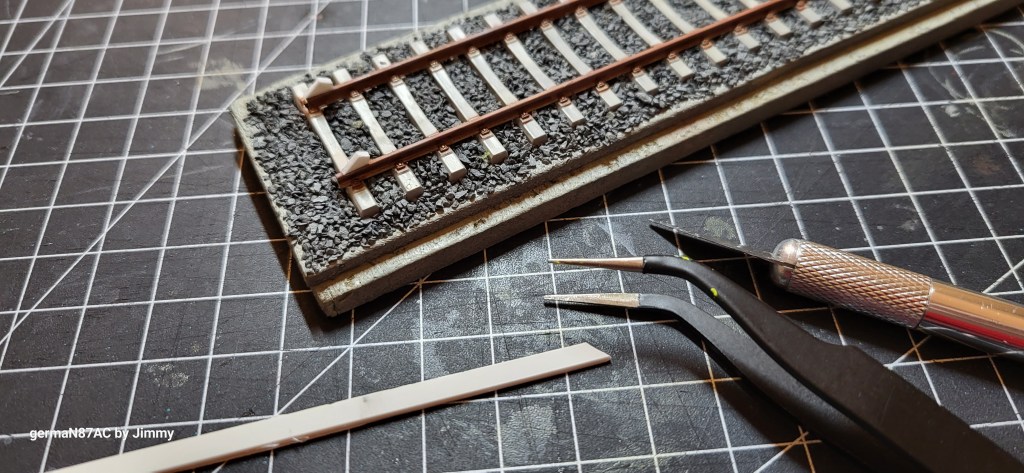
Making Rail Wheel Blocks from Styrene
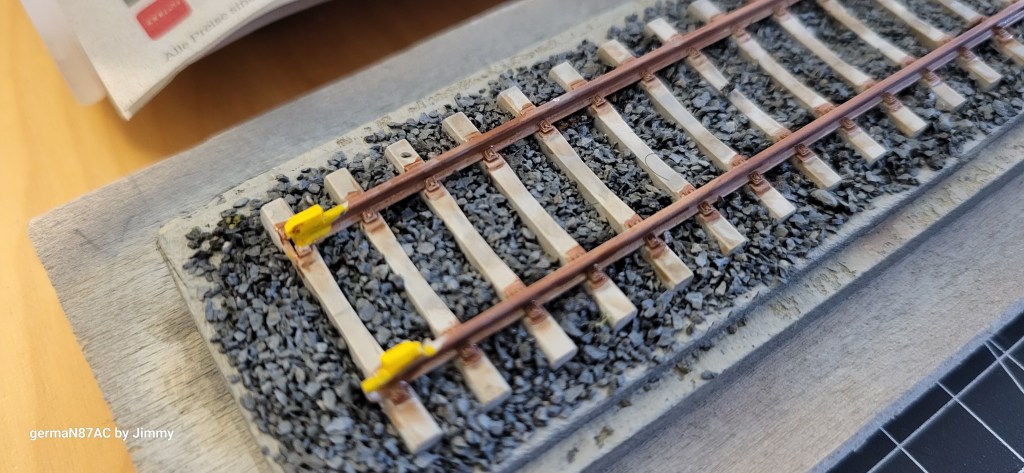
As the exhibition tracks are just “dead tracks” and to prevent rolling stocks from rolling off the tracks (sorry, no puns intended), I made these rail wheel blocks from a 1mm styrene strip. I cut the styrene strip into small triangle shapes and used superglue to bond them to each end of the tracks. Using a spruce cutter, I trimmed of the triangle and leaving about 1mm from the rail head.
After painting with Vallejo white primer and later with Vallejo Model Deep Yellow, the result is amazing.
One Layer of Satin Varnish Before Enamel Weathering
To protect all the acrylic paints I applied Bergswerk 5 parts ultra matte and 5 parts gloss varnish as I do not have their satin varnish and let the tracks dry for 2 hours.
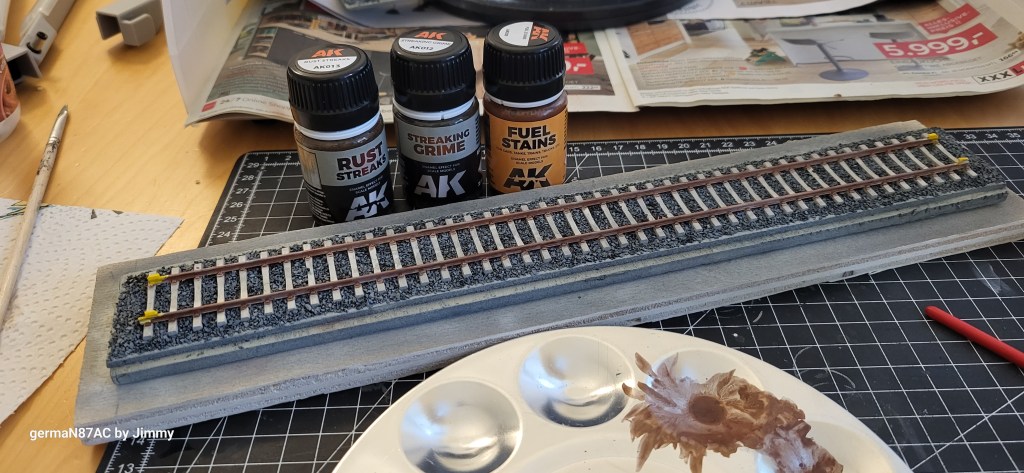
Enamel Weathering
I like working with AK Interactive enamel streaks and stains and they give me sufficient time to work on the weathering compared to acrylic streaks and stains. Take note that you need to use Odorless Enamel Thinner instead of acrylic or airbrush thinner!
For the rail plates and concrete sleepers, I used AK Streaking Grime (AK012) and Rust Streaks (AK013) and applied them randomly on the rail plates.
Using synthetic brush I painted thin layer of rust streaks and streaking grime on the rail plates.
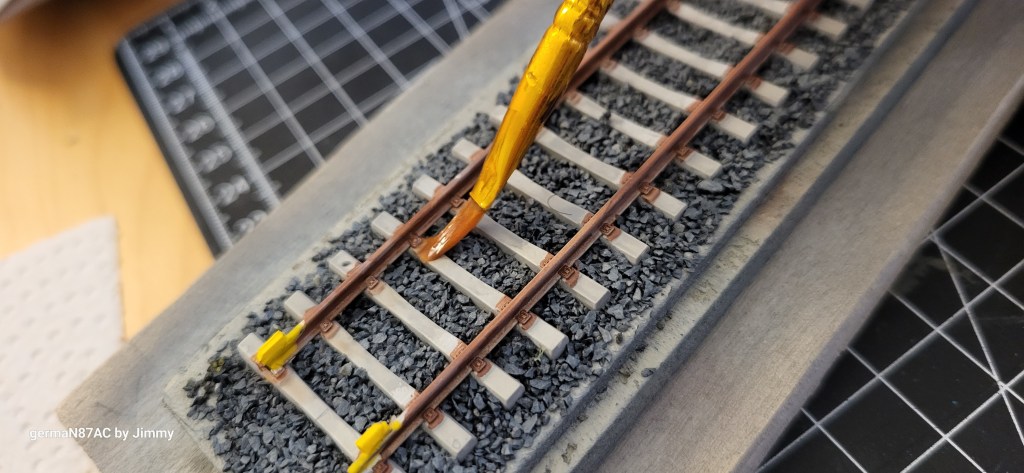
For the concrete sleepers especially those near the rail plates, I used rust streaks and fuel stains (AK025). I always used enamel thinners to “move” and wipe the streaks and stains around.

The wheel blockers also received a thin layer of rust streaks to simulate chipping and rust.

I finished off with a coat of Bergswerk ultra matte varnish and let dry for 12 hours. The tracks are ready for inspection and installation on the existing spaces.
First Impressions


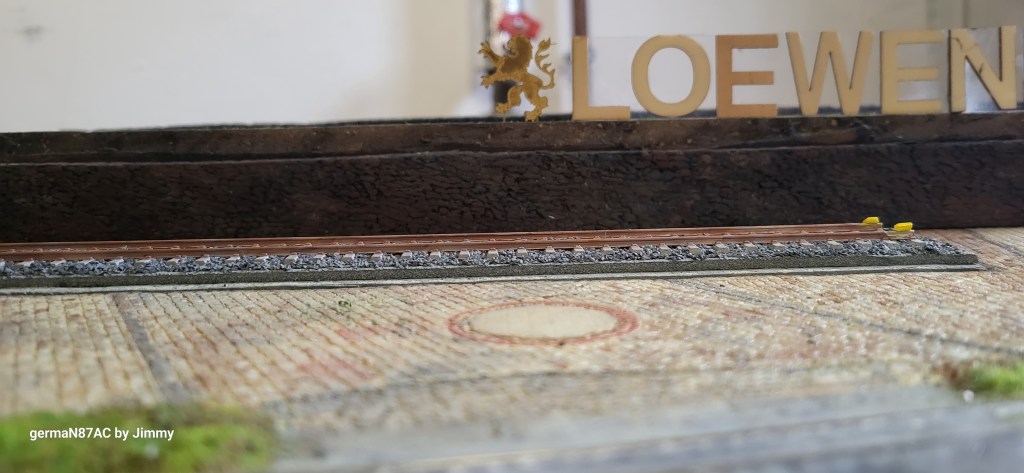
On Module 1b


On Modiule 1a

One thought on “Loewenherz Replaces Exhibit Tracks”