
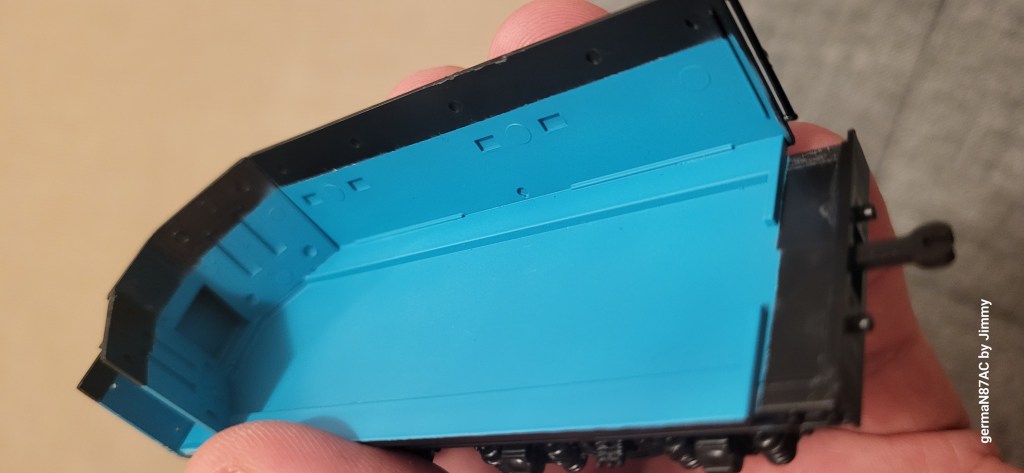
While waiting for styrene parts of the locomotive boiler, I began working on the tender, which is relatively easy. I have decided that the right side will be exposed or left out. Putting all the necessary parts togeher but before gluing them, I tested to make sure all parts fit.

Marking the Water Level in The Tender
Next I air-brushed Vallejo white surface prime on the uncovered part which was later painted in turquois to represent the water level on the tender.

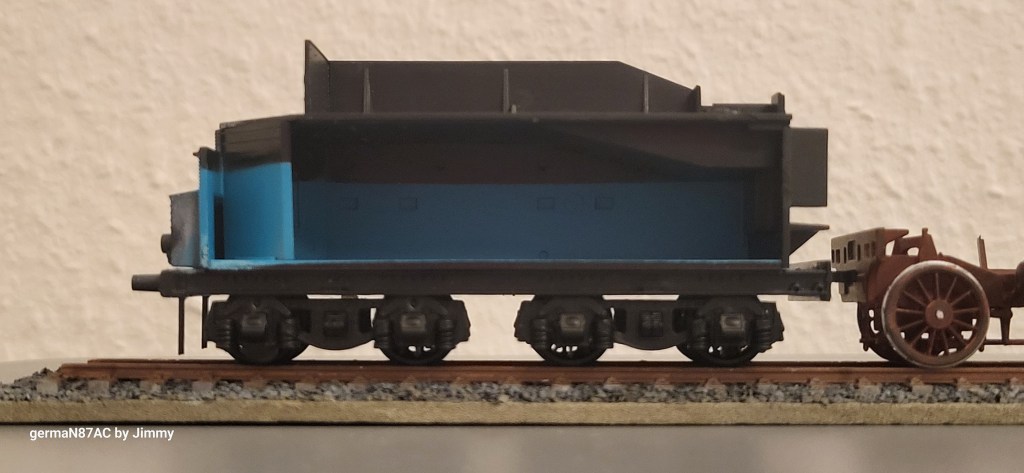
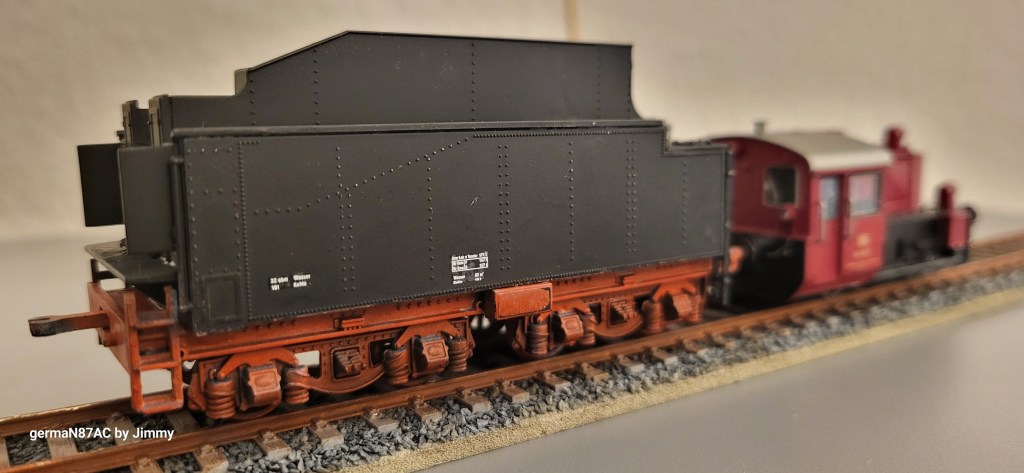
Painting the Undercarriage
For the undercarriage and wheels I first primed lightly with Vallejo white and let dry for 24 hours. The next day I used a mix of 8 parts Vallejo Model Air Vermillion and 2 parts Hull Red. Because of the light, misty priming, the end result is some of the original black remained and created the shadow effects on the recesses. I love the end result.
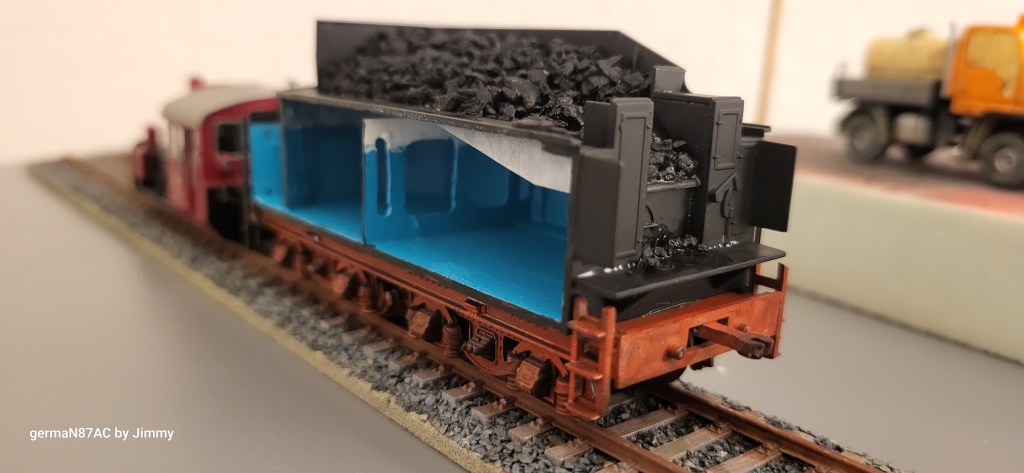
Rework on the Interior of the Tender
After checking some photos and reference books, I wanted something more in the tender. Painting the water level was not sufficient. The upper coal bunker is held by many compartment walls (think of the water compartments in Titanic ship). I wanted to model these compartment walls and decided the modelling 1 wall would be sufficient to illustrate how it works. Erico J. from Adler Modellbaumanufaktur in Cologne gave some some reference drawings (thanks Enrico!).
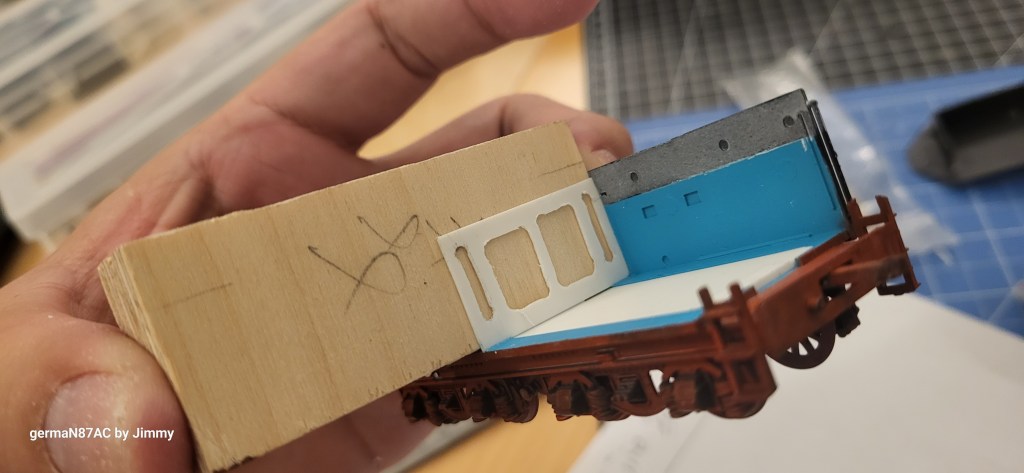
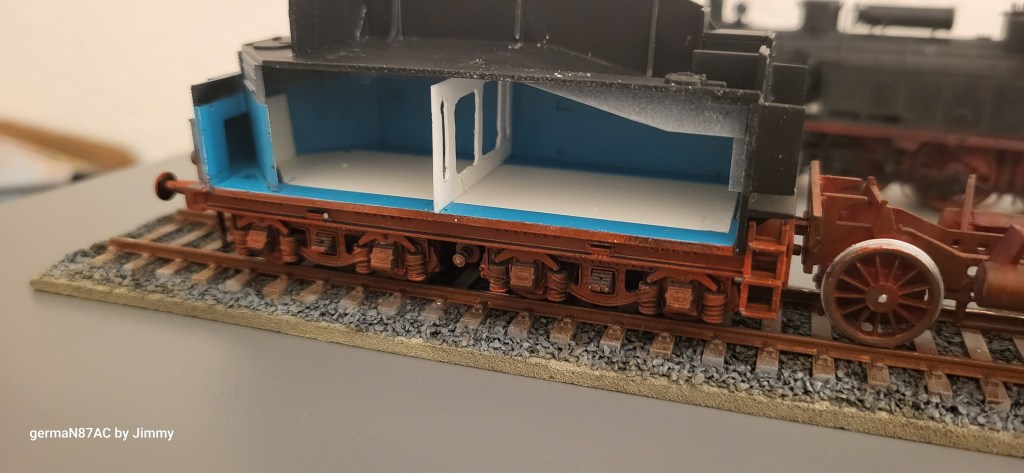
I used 0.5mm styrene sheet (that would be equivalent to a 4.35cm thick wall in real-life) for the wall. You noticed the opening gaps which allow water to flow through. In addittion I used 2mm styrene sheet to cover the bottom gap of the tender (I missed this step earlier).
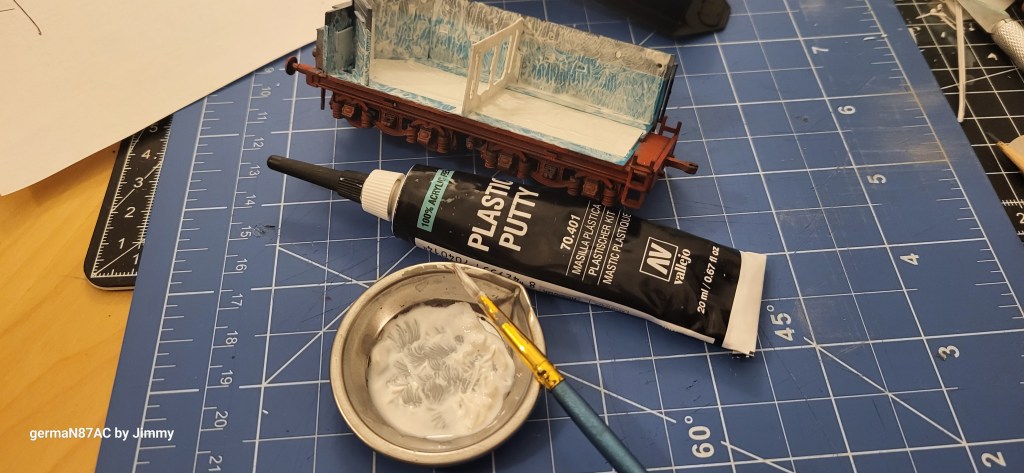
I used Vallejo Plastic Putty diluted with some water to create the rough surface inside the tender. I learned this trick from military scale modellers who created the worn-out metal effect on their tanks. I let it dry for 12 hours before priming and painting the water level again.
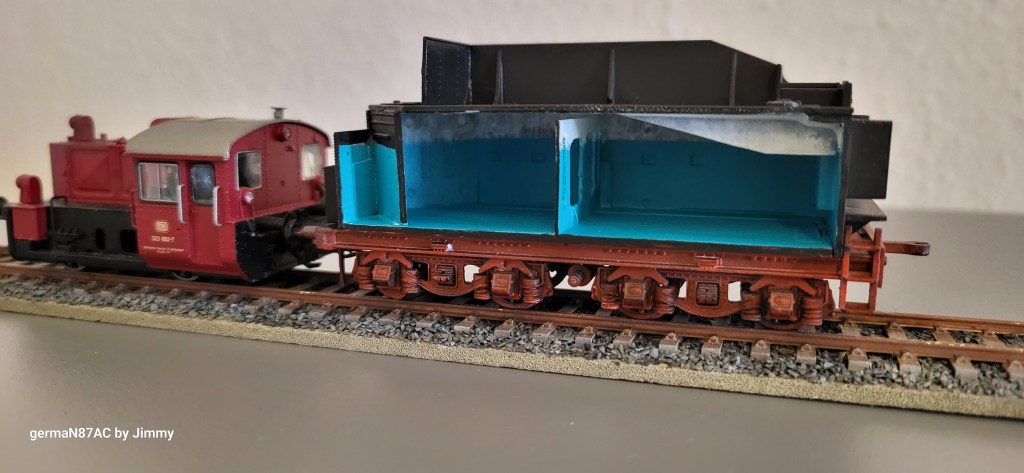
The interim result shows how the internal looks like. I was thinking whether to paint the white part i.e. above the water level rust or keep it white. In the end, it stays white so that visitors can see the differences. Painting rust (brown) may obscure the effect.
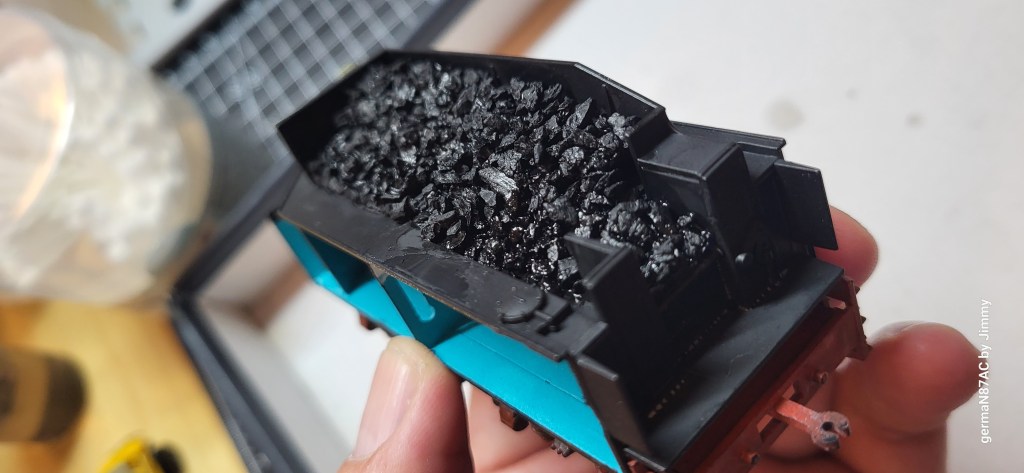
Real Coals Added
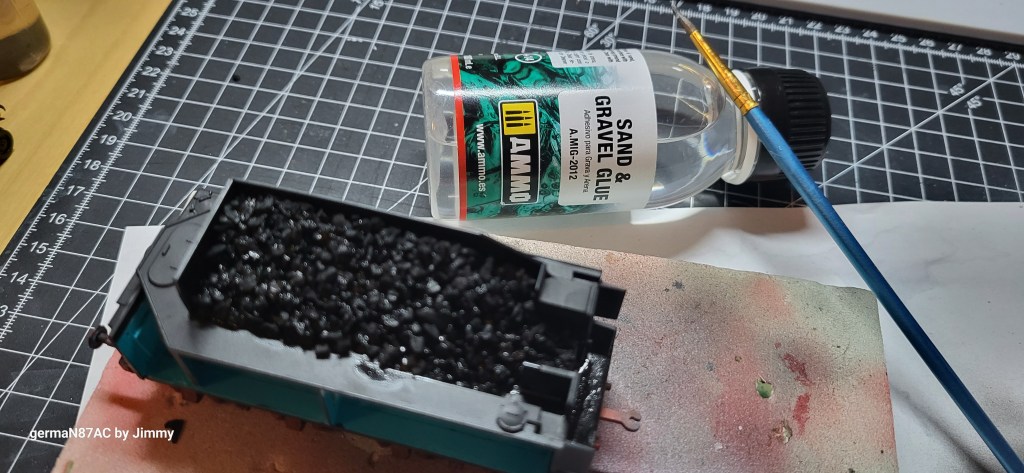
I applied Noch Profi Gestein “Kohle” 09203 (PROFI-Rocks “Coal”) on top of the coal bunker and carefully sweeping them into place before applying AMMO by Mig odorless Sand & Gravel Glue. These are real coals!
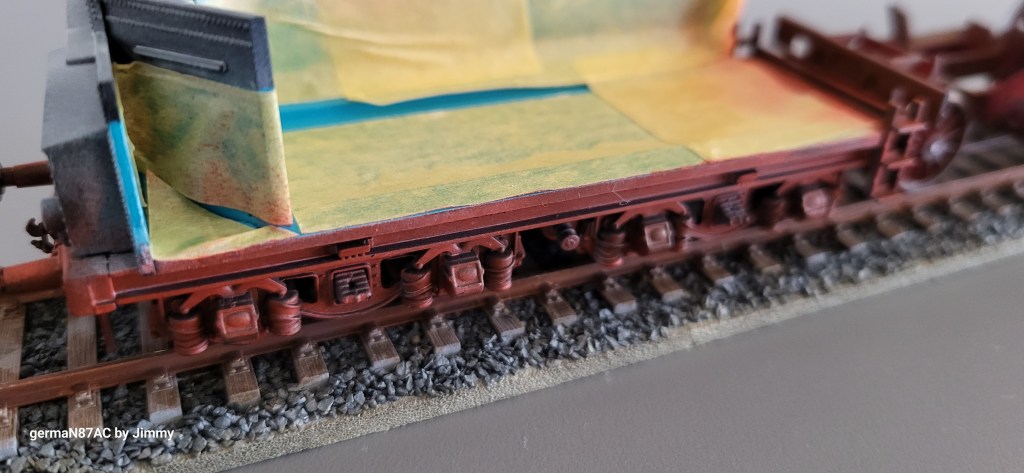
Adding Decals
I finished up by adding decals to the left side. Cut the decals with precision blade, dip in water to soften them and put into position. Using cotton bud to wipe off excess water and spray a layer of matte varnish.

First Impressions


2 thoughts on “Revell BR 01: Tender Cutout Completed”