
In July. I wrote about my challenges with the pedestrian underpass. The structure is completed and now I am adding the long-awaited lighting. My MIST-61 member advised me how to position the LED light strip and taught me how to build one. The end result looks great especially how the lights shined on the cobblestones. I will dim the brightness somewhat.

The LED strip is positioned on the the roof of the tunnel and hidden from view (Foto: Jimmy Low (c))
To cover the length of the underpass, I needed 4 LEDs on a strip. Wolfgang taught me how to use a diode / bridge rectifier (dt. Brückengleichrichter) that converts alternating current (AC) input into direct current (DC) output for the LEDs. I do not need a separate transformer to power my DC accessories, which really simplifies the wiring and added more flexibility to my landscapring.
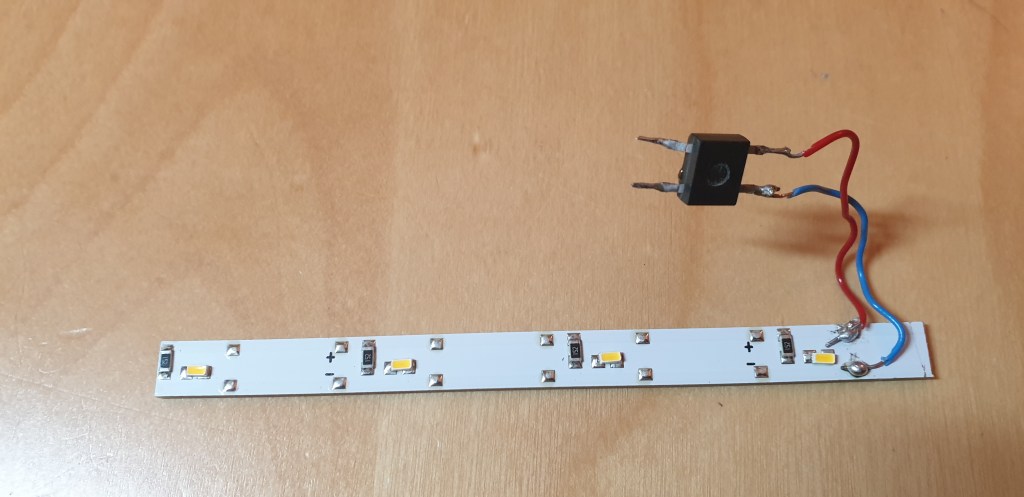
The tiny black component – a diode rectifier – converts AC input to DC output and making the wiring so simple (Foto: Jimmy Low (c))
I then planted the LED strip in the middle of the underpass roof by first removing the foam and cork. I created a small channel to hide the wiring so that the rectifier stays outside of the underpass structure for easy maintenance.
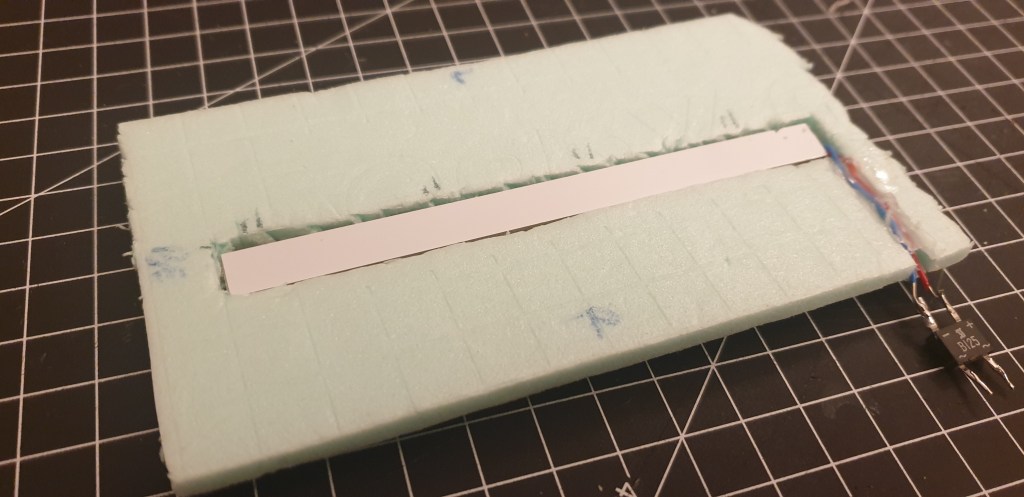
The LED strip is embedded on the roof of the underpass and a small channel to hide to wiring (Foto: Jimmy Low (c))
I used the rest of the removed cork strip to cover the LED strip and exposed only the light elements.

Now, the rest of the LED strip needs to be covered (Foto: Jimmy Low (c))

Walah, only the light elements are exposed (Foto: Jimmy Low (c))
A simple and effective solution. I am doing to add more such lighting on my layout especially for the train viewing platform. Now, it is time to buy more diode rectifiers.
