
Since my last post “Building H0 Plinths for Exhibitions“, I am have been working on my module construction. Between module constructions, I use my spare time – mostly after work – to do other DIY projects, which are fillers for my Loewenherz module.
This time, I added ballast on the stone plinth and tested the effect. I used Wolfgang Tschunkert‘s ballast and granite 0.5-1.0mm granularity, a mix ratio 2 : 1.
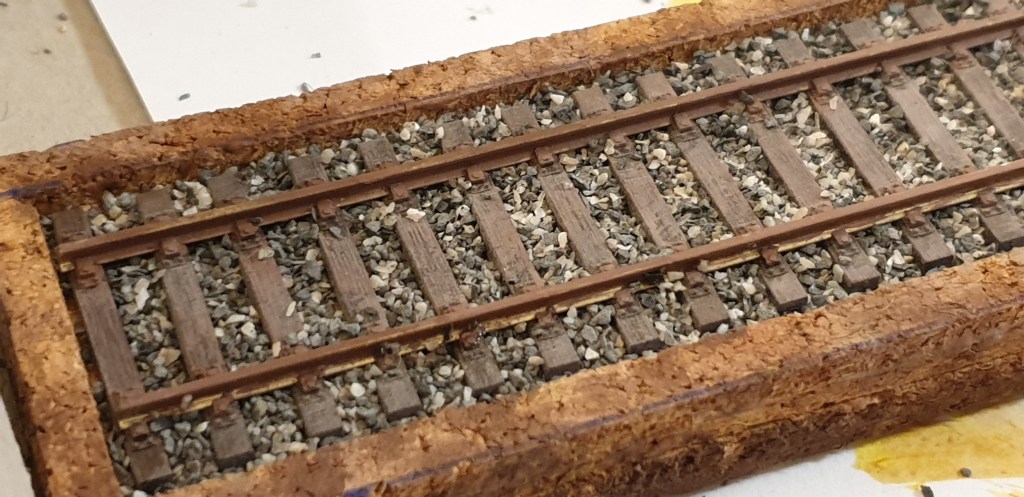

When you add the mixture of water and glue on the ballast, unfortunately it will turn the grey ballast black. I did not like this effect. This “blacken” effect is a common issue when using grey ballast, irrespective of brands or manufacturers.
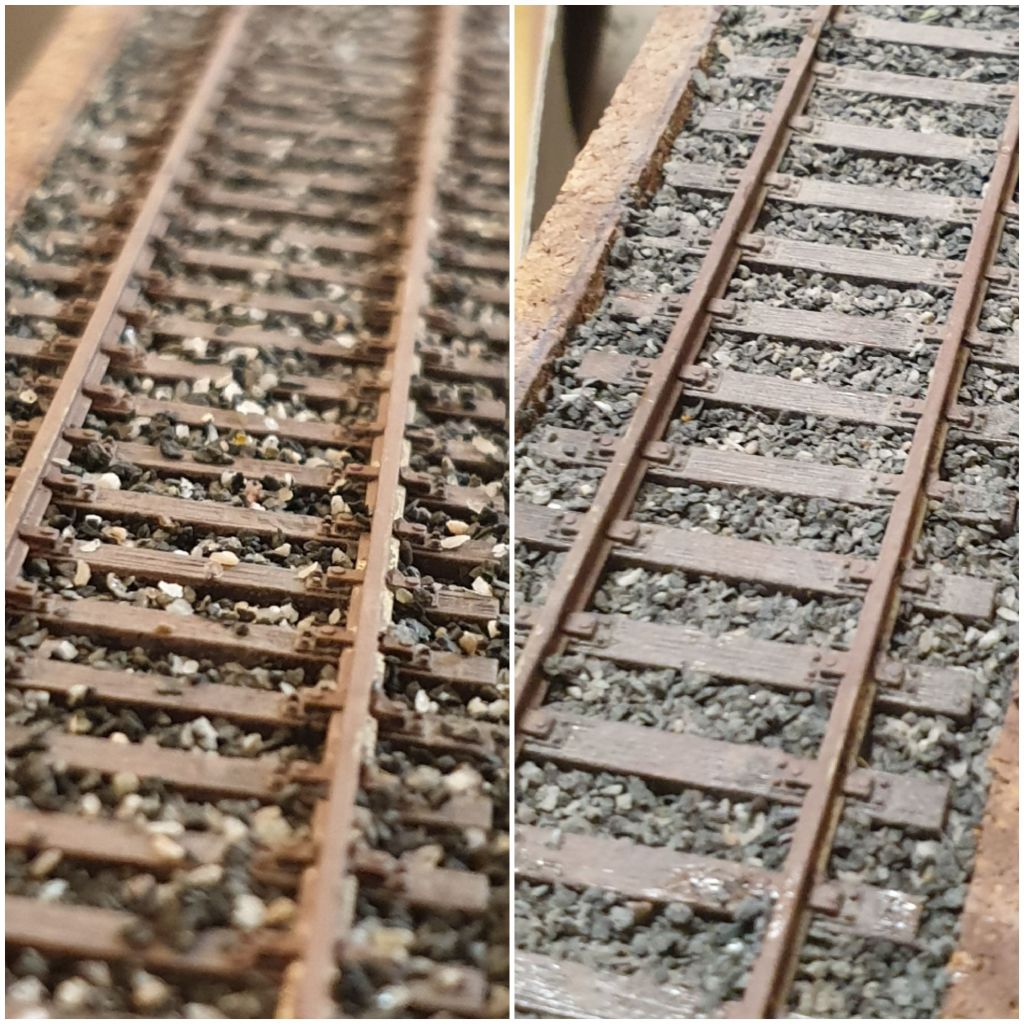
As you can see above a comparison of the “blacken” ballast (the granite ballast remained its original color) and reworked ballast.
How did I rework the ballast? While the initial ballasting (left) is still wet, I “rubbed” and pressed another layer of ballast on top. If the blacken ballast appears, I will remove them and press more ballast on top. The reworked effect is a greyish ballast and sleeper ties. This more or less matches closely to reality. As the original layer dries, it will hold the top layer together.
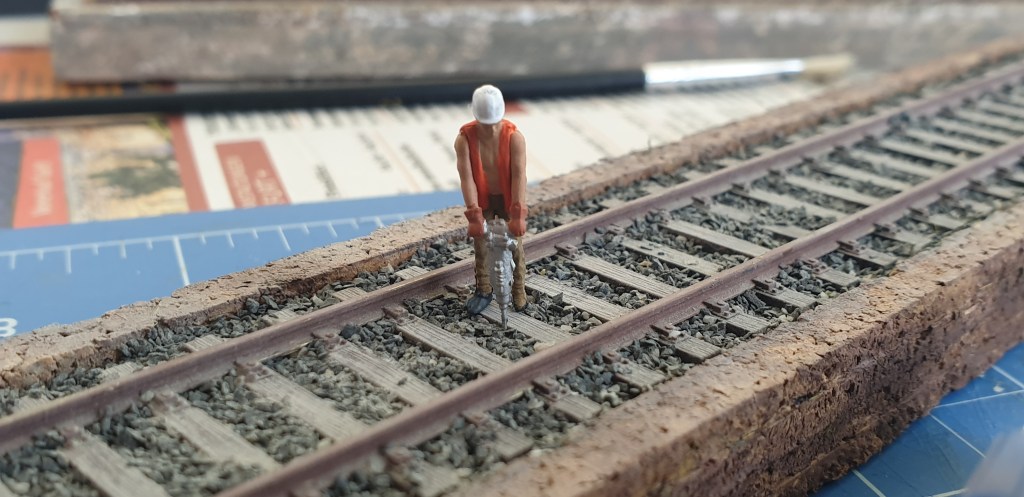
I am now happy with the end-result. What do you think?
